-
Step 1: Start Your Sculpting Project
Choose one of the three starting options:
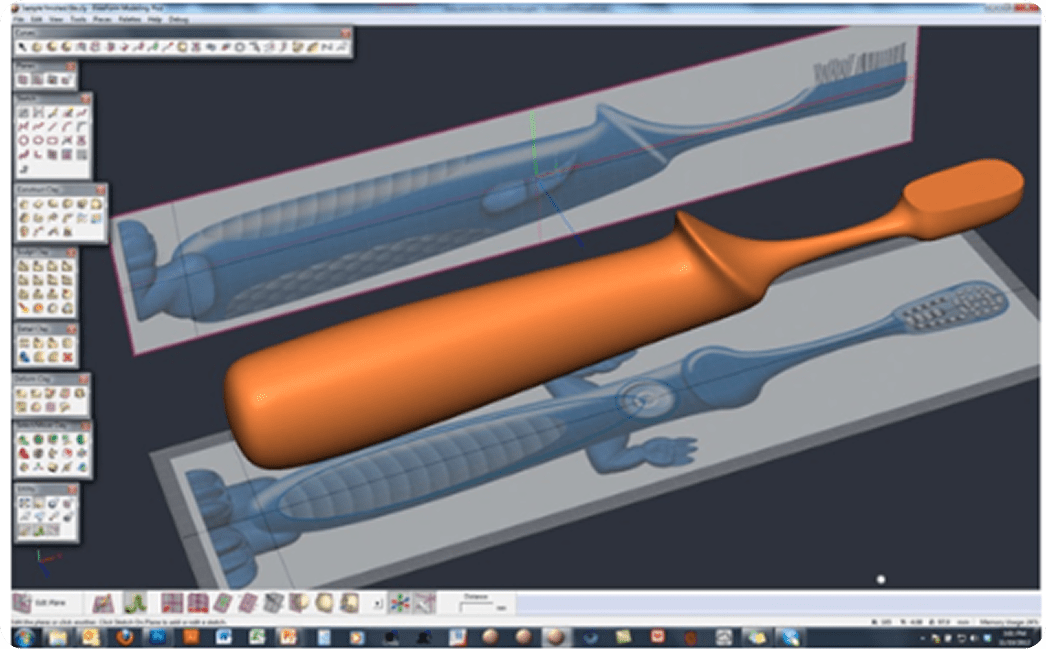
Option A: Import a 2D concept image as a reference and begin sculpting the 3D form manually.
Option A: Import a 2D concept image as a reference and begin sculpting the 3D form manually.
Option A: Import a 2D concept image as a reference and begin sculpting the 3D form manually.

-
Step 2: Sculpt the 3D Form
To shape your model, use sculpting tools such as a clay brush, smooth, pinch, inflate, grab, etc.
Continuously refine proportions, surface details, and anatomy or mechanical form depending on the project.

-
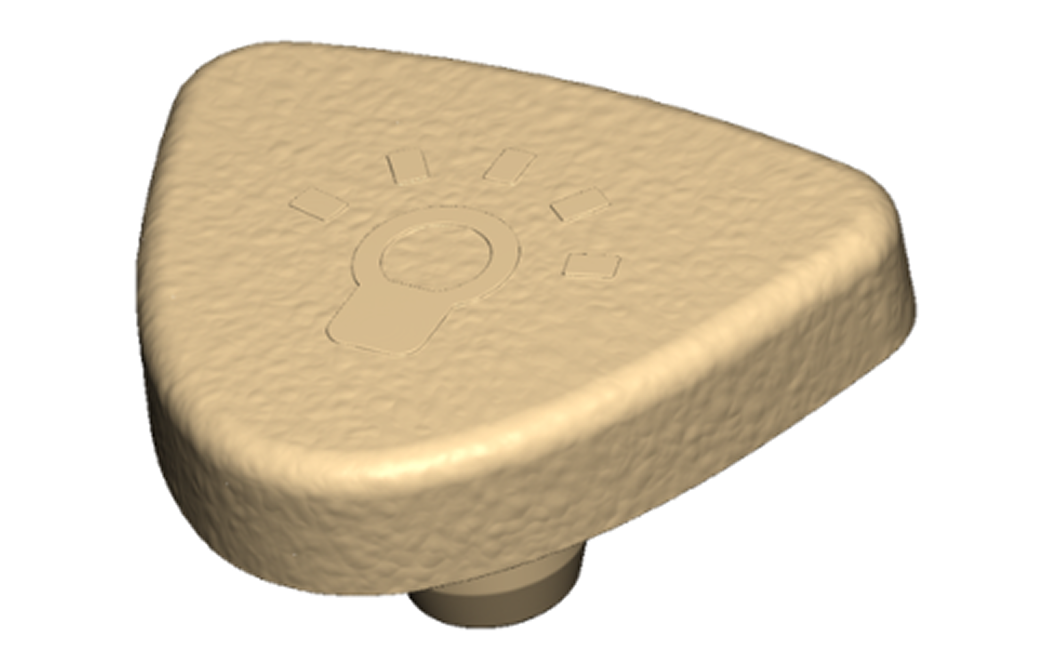
Step 3: Add Textures or Patterns (If Required)
Use alpha brushes or displacement maps to apply patterns or texture.
Apply noise, wrinkles, grooves, or decorative details as per the design. and Optionally, paint or vertex colour the model for visualisation.

-
Step 4: Split or Segment the Model (If Required)
Use cutting or slicing tools to split the design into multiple parts for:
Printing
Assembly
Mold making
Medical or product customisation
-
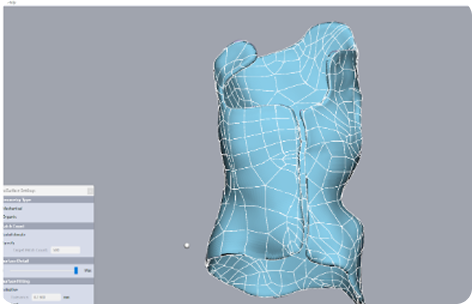
Step 5: Convert to NURBS (If Required)
If a parametric or CAD-compatible output is needed:
Reconstruct surfaces or curves using NURBS tools.
Fit clean NURBS surfaces over sculpted mesh or extracted sections.
-
Step 6: Export the Design
Choose export format based on use-case:
STL/OBJ – For 3D printing or polygonal workflows.
IGES/STEP – For CAD or manufacturing workflows using NURBS-based geometry.


Call us now
+91 98404 78347 | +91 7395972777
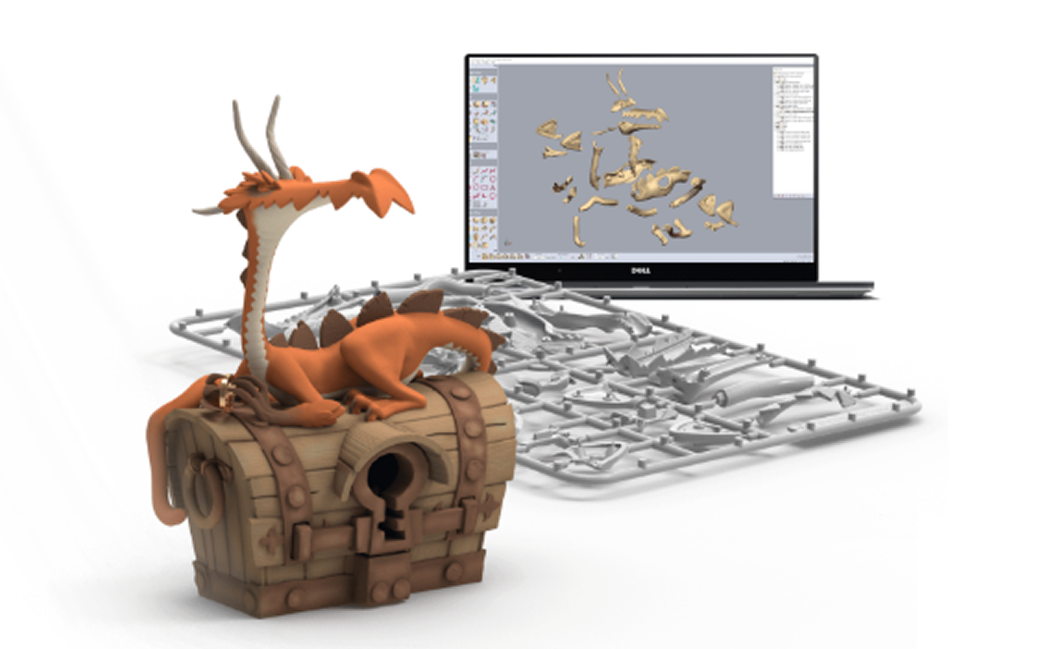
3D Sculpting Software - For your Organic Design
Sculpt Digital Using Geomagic Freeform
software to solve physical design problems by creating digital solutions.
Enjoy artistic freedom with engineering control
Flexible workflow automation
Add and modify 3D textures, patterns, and lattices

Email us
sm@precise3dm.com | sales@precise3dm.com
What is a 3D Sculpting Software?
3D Sculpting Software is a digital tool used to create and manipulate high-resolution, freeform 3D models, especially those with complex, organic shapes. Unlike traditional 3D modelling software, which builds models using geometric primitives like cubes and cylinders, sculpting software simulates the experience of shaping digital clay with virtual brushes, much like sculpting in the physical world.
How It Works?
Why use a 3D Sculpting Software?
3D sculpting software is essential in workflows where organic modeling, fine detail, or creative freedom is required.
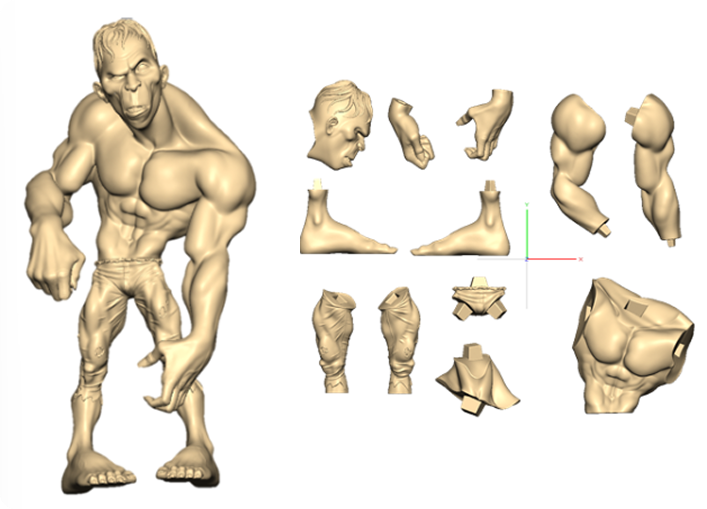
Create Complex Organic Shapes
Traditional CAD and polygonal modeling tools are ideal for hard surfaces, but sculpting software excels at natural, flowing forms like characters and creatures, faces and anatomy, rocks, fabric, terrain, and even fantasy, abstract, or stylized elements.
High-Fidelity Detailing
Sculpting allows for millions of polygons, letting you carve skin pores, wrinkles, cloth folds, and tiny surface texture that would be impractical to model manually.
Speed and Creative Flexibility
Sculpting workflows are more intuitive and artistic, letting creators quickly explore ideas without being restricted by rigid geometry or technical constraints.
Concept Art and Prototyping
Users can use sculpting software for concept modeling, creature design, or even 3D printing prototypes. It's a vital step between 2D sketches and final 3D production assets.
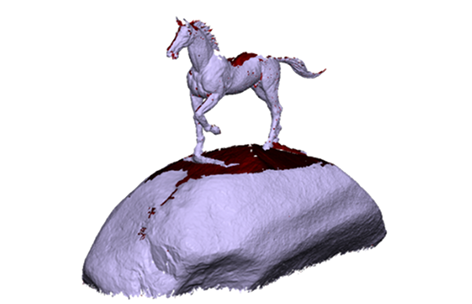
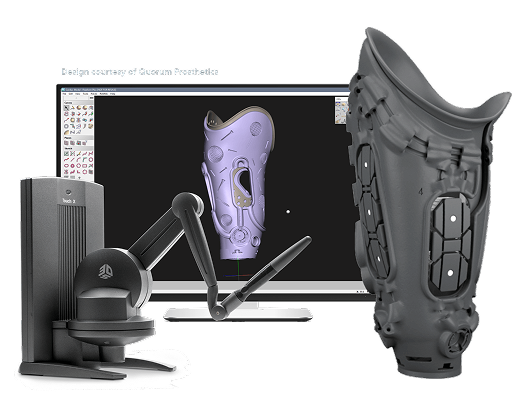
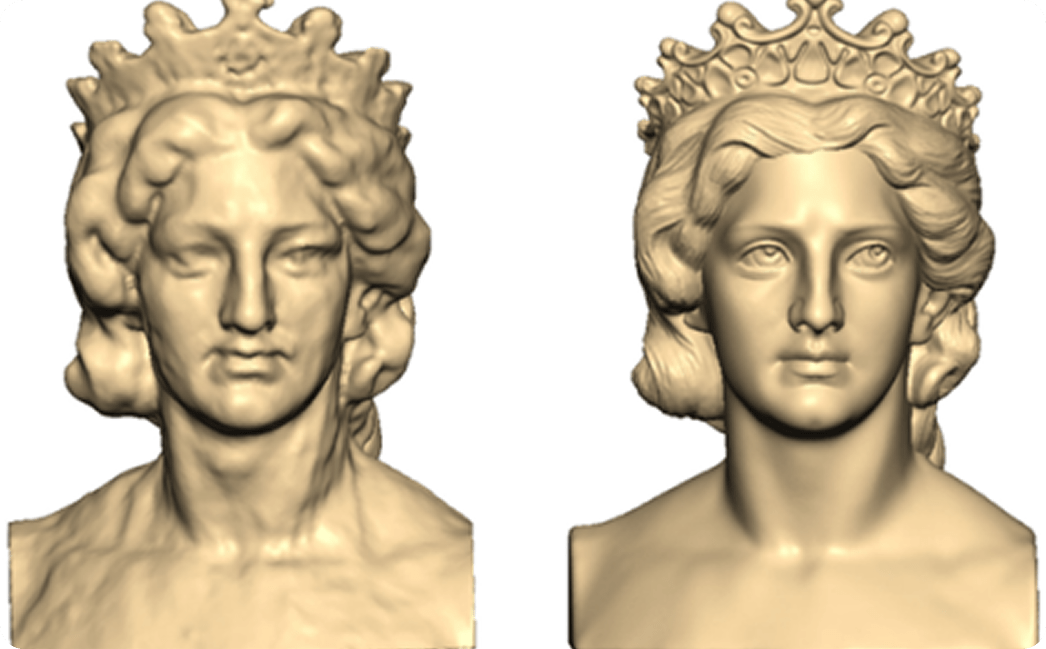
Enhance the 3D Scan
Users can import 3D scan data into 3D sculpting software and enhance and add detail into the 3D scan data.
Get the Industry-Best Sculpting Software From Precise3DM
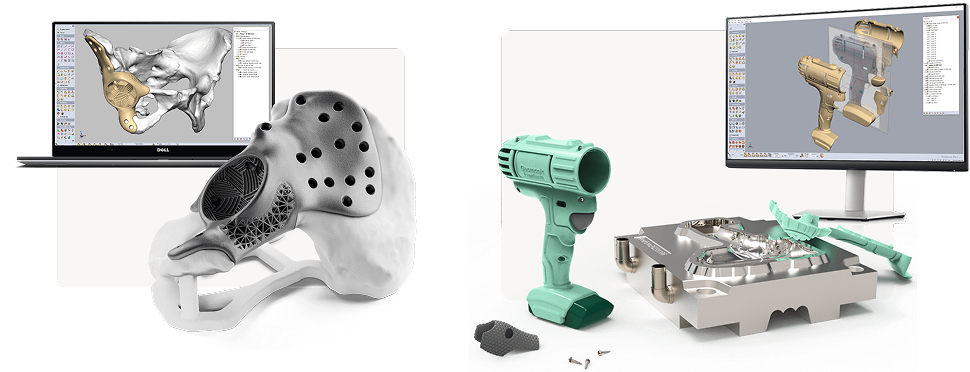
The Geomagic Freeform redefines the boundaries of organic 3D design. Where digitally modelling handcrafted, sculptural, and organic forms is difficult, even with traditional CAD software, this software makes it as simple as a breeze.
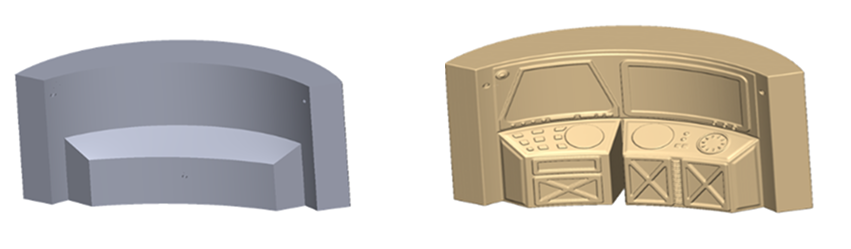
Geomagic Freeform combines voxel-based modeling, surface (NURBS) modeling, and mesh editing in a single environment.
Gives users flexibility to sculpt like digital clay (voxels), create precise surfaces (NURBS), and work directly with scan or polygonal mesh data.
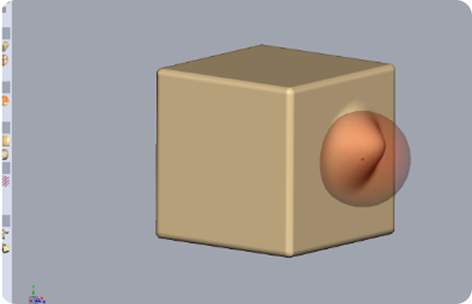
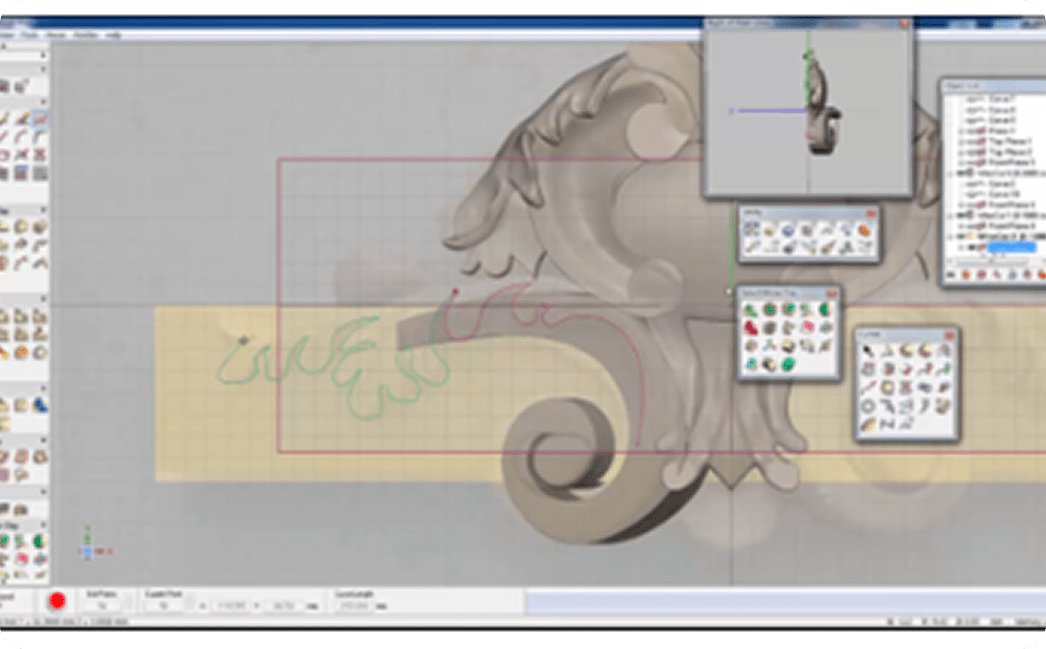
Intuitive sculpting brushes for push, pull, smooth, pinch, emboss, and carve
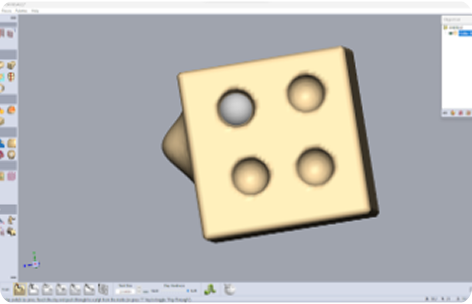
Boolean operations to merge, subtract, or intersect volumes
Apply textures and patterns using wrap, stamp, or draw-on-surface methods
Export clean models for CAD/CAM, 3D printing, or manufacturing
Get Geomagic Freeform with Haptic at
Precise 3DM
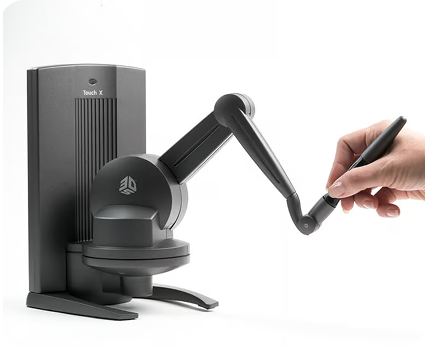
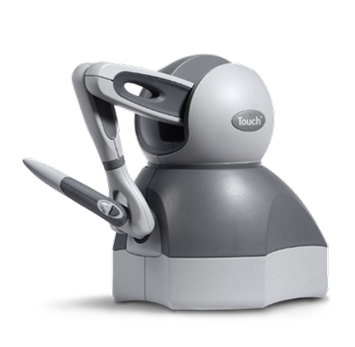
Geomagic Freeform provides support for haptic devices, such as the 3D Systems Touch and Touch X. A haptic device allows users to not only move a tool in 3D space (X, Y, Z) but also to feel resistance and texture through force feedback. As you sculpt in Geomagic Freeform, the device simulates how a real material would respond, whether you're carving into clay, smoothing a surface, or adding fine details.
Unlike traditional mouse or tablet, the haptic stylus provides 6 degrees of freedom and force feedback, letting you interact with your digital model in the same way you would with a physical object. You can feel the contours, hardness, and edges of your model, making sculpting more intuitive.
Besides, Force feedback allows for subtle, delicate adjustment. At Precise 3DM, you can get a bundled solution at cost-effective rates.
Why choose Precise3DM?
We have been a proud distributor of Geomagic software since 2015. As their Golden partners, we bring the necessary expertise to implement and successfully succeed with Geomagic software solutions. Here’s what makes us distinguished:
-
Completed over 300+ 3D scanners and Geomagic software successful installations
-
PAN-India support for installation and training
-
Offer competitive pricing, authorised licenses, and direct access to the latest updates
-
On-site consultation and live demonstrations Start a free trial today!