Digital inspection is necessity of the hour. In today’s digital world measuring the part dimensions and checking the accuracy with the conventional method is a tedious job. Scanning the part with a 3D scanner, creating a digital image and comparing with the CAD model is an ideal solution to check for deviation, improvise quality gain and manufacturing methodology.
CHALLENGES
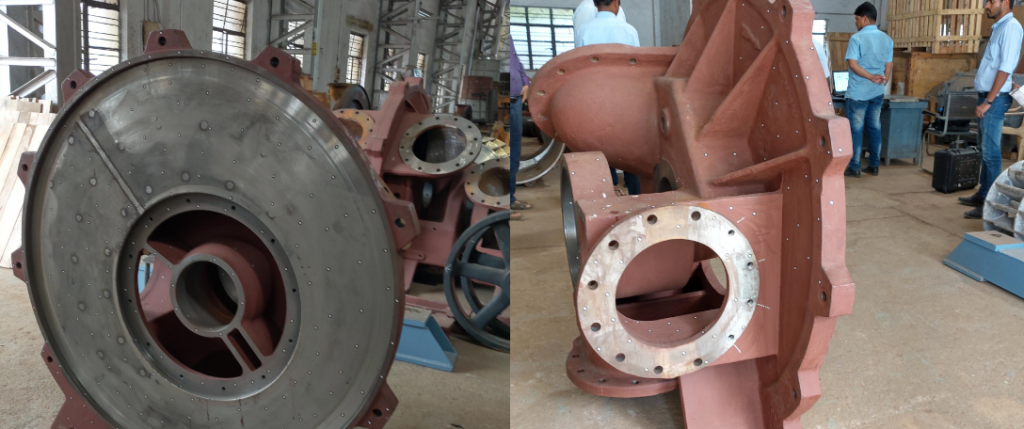
The customer uses a tactile measurement system to measure casting parts for the quality control process but left other details untested because the casting component is having regions where measurement tools are hard to reach. We cannot go for an optical structured scanner or CMM because it is time-consuming and has a chance of human error while using it. The quality measurements of parts cannot be effectively controlled, leading to considerable deviations in harsh environments.
SOLUTION
Thanks to an industrial handheld 3D laser Scanner that offers simplistic and unparalleled 3D scanning of small-sized as well as large-sized components, it captures all details of the components effectively but Precise3DM’s Handheld Metrology 3D scanning solution from Shining3D Freescan X7 3D scanner, a perfect option for such parts. It can scan even the tiniest details of the part with shear accuracy. It has got an accuracy level of 0.030mm. With such accuracy it can scan a single human hair. It features a flexible and convenient scanning mode to scan small as well as large measurement objects with complex shape.
Geomagic Control X is a complete metrology grade, quality control software that is equipped with powerful tools designed to improve multiple existing workflows.
3D SCANNING AND 3D INSPECTION FLOW
Freescan x7 uses laser as the light source. It provides a wide range of field of scan with its 7 crisscross lasers. It can work in harsh environments and generates as-built raw data. The scanner has a built-in feature where it adjusts the capture data according to the surrounding lights to provide a clean scanned data later. One can even adjust the light captured manually to make sure the right part is captured with precise details.
- Applying the white spray to the part for recognition by the scanner is not required in the FreeScan X7.
- FreeScan X7 works with a Sticker based method. The reference for scanning parts is taken by placing target stickers on them.
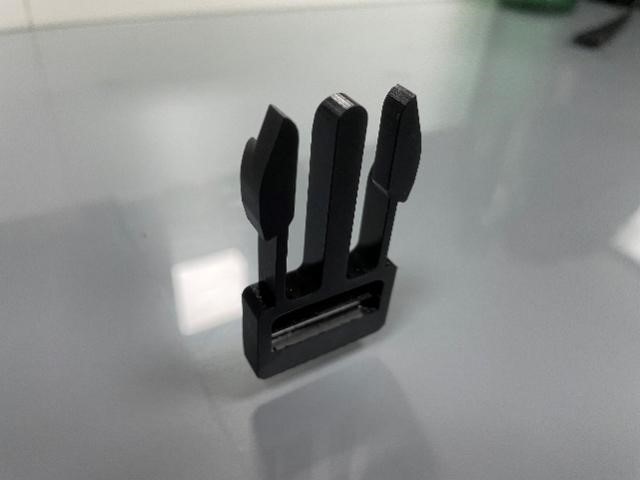
- FreeScan X7 is used to scan the Buckle parts as well as automotive door handle in the shopfloor now.
- Mesh conversion is done and the output data is stored in .stl format
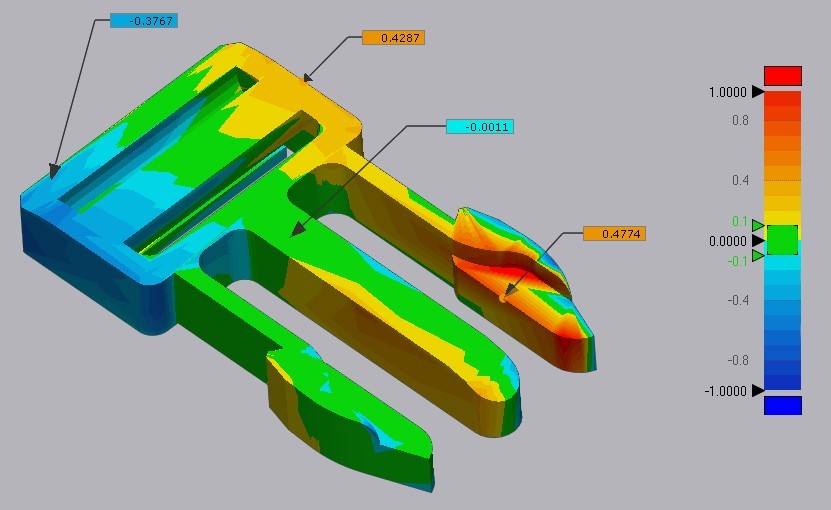
- 3D inspection is done in Geomagic Control X software using the Coordinate Alignment method
- 3D and 2D measurement of the part is done in Geomagic Control X software
Actual Part
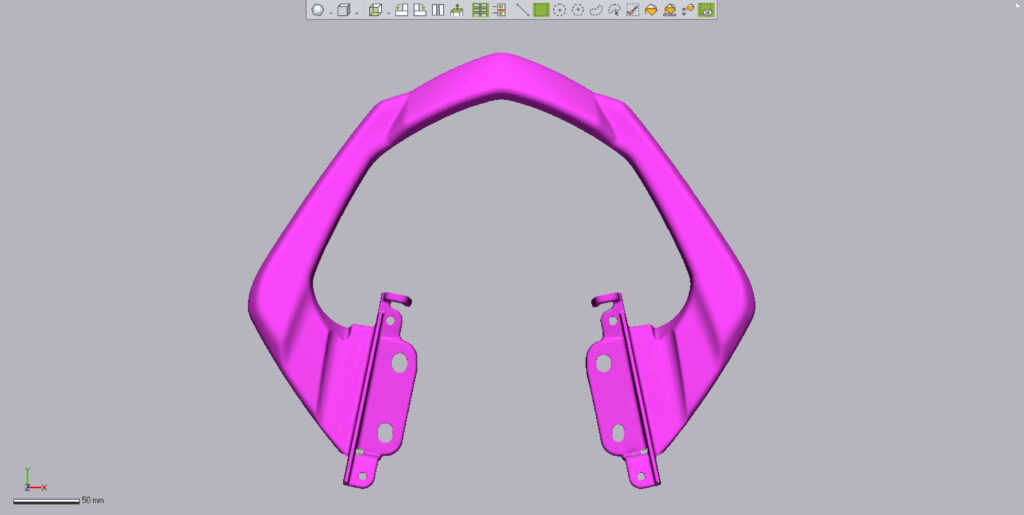
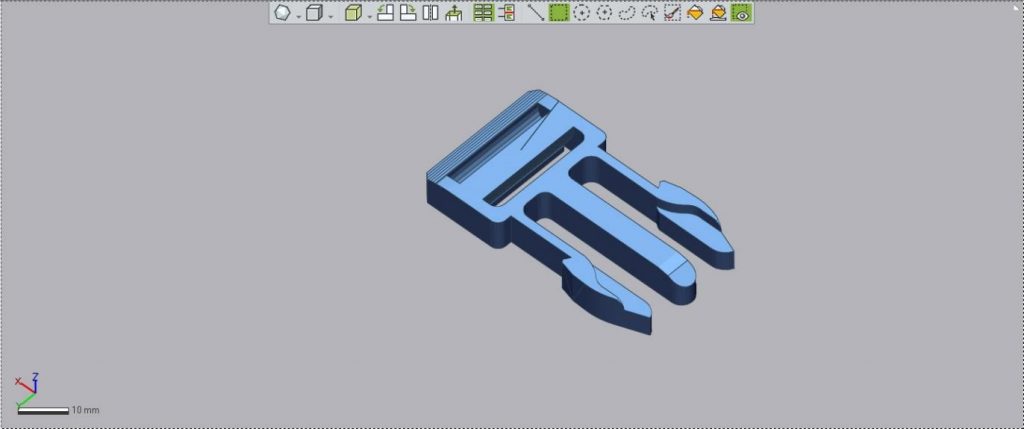
CAD model
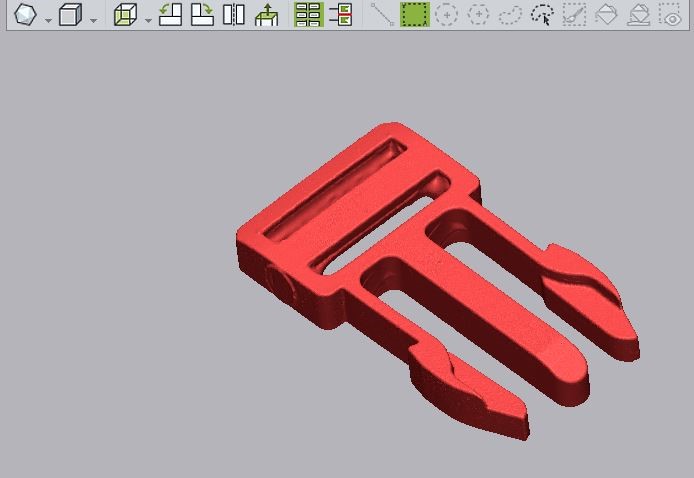
Scanned Part
3D Comparison of Scanned and CAD part
