Overview
Digital Damage Assessment
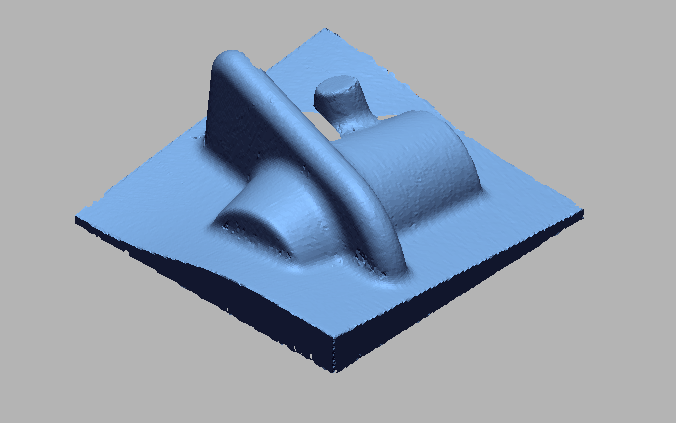
Physical existing objects may experience damages and failure. Checking damage from these types of events has traditionally been a low-tech, manual, and time-consuming process. We need a system that is easy to use for the maintenance engineer but can provide more in-depth reports. Digital damage assessment in the 3D inspection software side is a simple, easy-to-use interface to obtain a basic damage report, but powerful enough to provide more in-depth details in the support offices. With this solution, performing a damage assessment on an object takes just a few hours, compared to several days. Once the scans are complete, We can get damage reports from the software on the spot. We don’t need to load CAD models or align the scan data to anything else in the software.3D inspection software uses its CAD feature to automatically create idealized geometry that meets standards for surface continuity. Within minutes, we have a consistent, repeatable, and thoroughly documented initial damage report that lets us decide what repairs are to be done.
WORKFLOW
 Import Cad File (7).png)
Import CAD File
 Import 3D scan File (8).png)
Import 3D scan File
 Inintial Alignment.png)
Inintial Alignment
 Best Fit alignment (1).png)
Best Fit alignment
 Checking damage by surface comparison.png)
Checking damage by surface comparison
 Their deviation value.png)
Their Deviation Value
IMAGE
VIDEO
INDUSTRIES WE SERVE
WHAT'S NEXT?
RELATED BLOGS

Scan To Parametric CAD
Parametric cad consists of a history-based feature modeling tree that can be edited to make design
Read more
Scan To Parametric CAD
Parametric cad consists of a history-based feature modeling tree that can be edited to make design
Read more
Scan To Parametric CAD
Parametric cad consists of a history-based feature modeling tree that can be edited to make design
Read more


