Overview
Trend Analysis
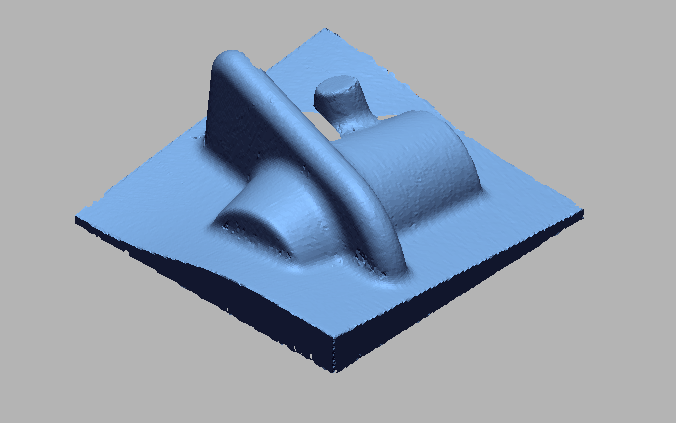
The parametric concept of the 3D inspection software makes it possible to implement trend analysis for multiple evaluations, for example, in statistical process control (SPC) or for deformation analysis. This enables full-field evaluation of several parts or stages and offers functionalities for determining statistical analysis. Trend analysis allows us to utilize the scans and check geometric dimensions and tolerances, extract 3D deviation color maps, and quickly generate full-color 2D and 3D PDFs. Our goal is to design in-house and to track the length, width, and a few other critical dimensions of the manufactured part. At this point, we have already scanned and processed them in reverse engineering software and produced an XML file for each. A Trend Report is generated. After selecting the source reports, we can choose the entities to track or report, whether it’s a linear dimension, geometric tolerance, statistical data, and so forth. From this trend analysis report, we can obtain insight about dimensions and tolerances that vary from part to part, and can then make decisions as to when corrective action needs to be made in my manufacturing processes.
WORKFLOW
 Import Cad File.png)
Import CAD File
 Import 3d Scan file.png)
Import 3D Scan file
 Initial Allignment.png)
Initial Allignment
 Best Fit Alignment.png)
Best Fit Alignment
 3D Compare.png)
3D Compare
 Tabular Column.png)
Tabular Column
 Trend Analysis1.png)
Trend Analysis
 Trend Analysis2.png)
Trend Analysis
 2D Compare Tabular Column.png)
2D Compare Tabular Column
 2d compare.png)
2D compare
 Trend Analysis3.png)
Trend Analysis
IMAGE
VIDEO
INDUSTRIES WE SERVE
WHAT'S NEXT?
RELATED BLOGS

Scan To Parametric CAD
Parametric cad consists of a history-based feature modeling tree that can be edited to make design
Read more
Scan To Parametric CAD
Parametric cad consists of a history-based feature modeling tree that can be edited to make design
Read more
Scan To Parametric CAD
Parametric cad consists of a history-based feature modeling tree that can be edited to make design
Read more


