Sculfort has been recognized as a renowned manufacturer and with a vibrant history in the expertise of lathes and other heavy machineries for over 100 years.they manufacture wheel boring and install in it the metros , In today’s digital world measuring the part dimensions and checking the accuracy with the conventional method is a tedious job. Scanning the part with a 3D scanner, creating a digital image and comparing with the CAD model is the future of Quality Assurance and Quality Control process.
Sculfort has manufactured a wheel boring and installed it in mumbai metro , after the successful installation and the first run they wanted to the check the shaep and dimension , we see how made it possible through our inhouse products and capablaiteis
CHALLENGES
The customer wants to check the periodic wear in the rail wheels as well as measure the dimensions of numerous features. The diameter of the wheels were measured by the customer and it was discovered that one wheel was more offset than the other. To get more insight data on the wheel dimensions the customer wanted more accurate measurements. It was impossible to measure the diameter of the wheel with a conventional method so had to come up with an advanced solution.
SOLUTION
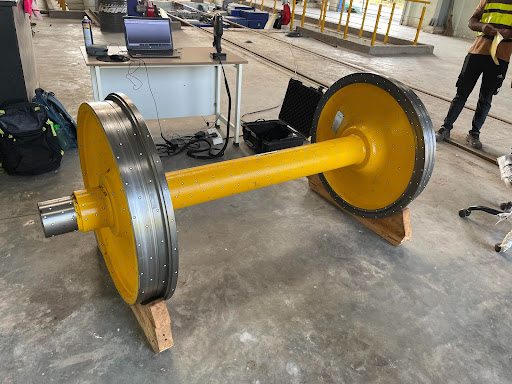
Actual Part
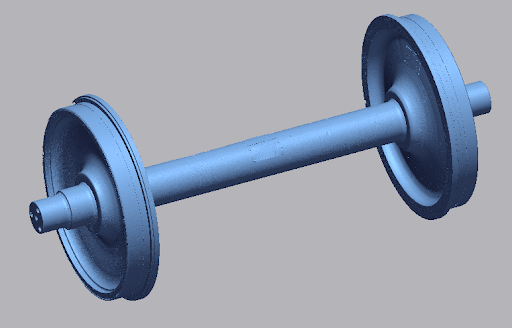
Scan Data
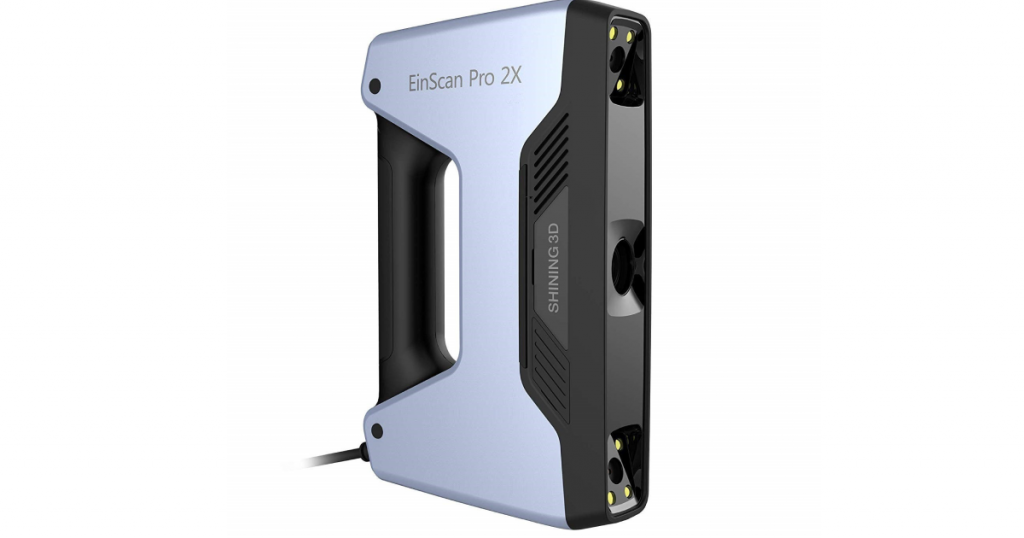
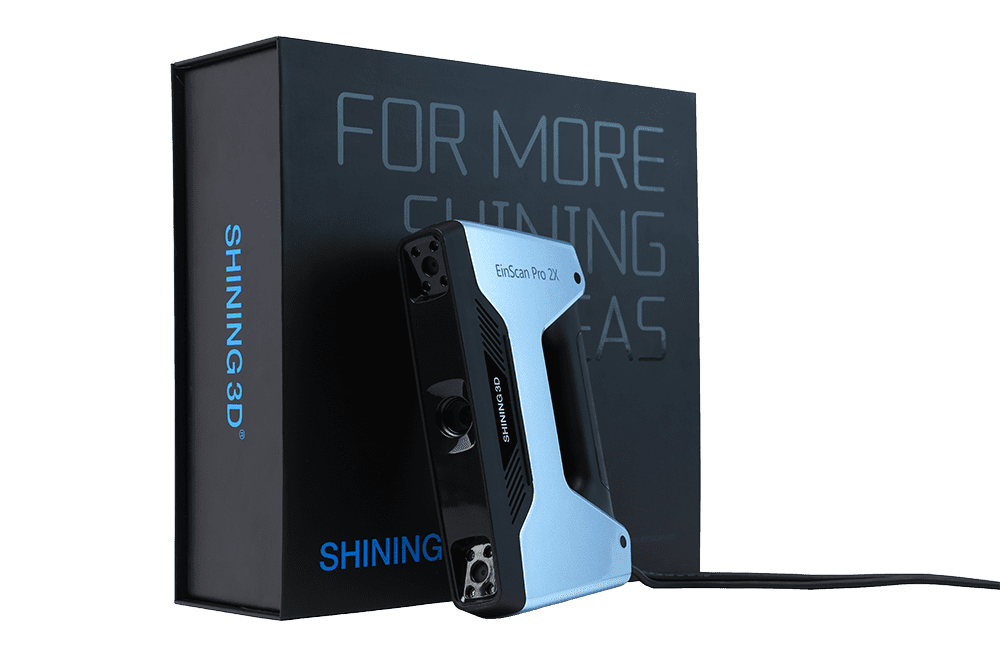
Thanks to industrial handheld 3D laser Scanner that offers simplistic and unparalleled 3D scanning of small-sized as well as large-sized components, it captures all details of the components effectively. Precise3DM’s Handheld Metrology 3D scanning solution from Shining 3D Freescan X7 3D scanner, a perfect match for such parts.
It can scan the tiniest details of the part with shear accuracy. It has got an accuracy level of 0.03mm. With such accuracy it can even scan a single human hair. It features a flexible and convenient scanning mode to scan small as well as large objects with complex shapes. Freescan UE has an extra blue laser light which is helpful in capturing data of cylindrical bore depth where light is difficult to reach.
Geomagic Control X is a complete metrology grade, quality control software that is equipped with powerful tools designed to improve multiple existing workflows.
WORKFLOW
We first set up the Freescan X7 and made sure the calibration is performed to update the scanner’s accuracy. After calibration, the process of parametric adjustment was performed. Freescan scanner is passed through the process of automatically adjusting the laser intensity according to the light available in the surrounding.
Before starting, the scanning makers were stuck on the part. These markers work as a reference point to the scanner. Each marker has a unique code, and the scanner reads and creates an image in the software. Also, markers are used for registering the scans. 3D scanners have some limitations to them. They cannot scan reflective surfaces, black parts and transparent parts as scanning is also based on how light is reflected from the scanning object. Thus, to make sure that the part is captured the best, a developer layer is sprayed on the part, reducing the reflectivity of the part.
The scanning was started, and the whole part was scanned within 2 hours. A digital image of the part was created in the Freescan software. The initial stage of the scan is called point cloud data. Here a scanned copy of the part is created with the help of points. To further work on this part, it is essential to convert this point cloud data into a mesh model. The mesh model is nothing but triangulation of the points and thus generating a solid body. The mesh model was saved in .stl format so as to import into Geomagic Control X software for further inspection on the part.
The customer already had a CAD object to use as a reference to inspect the actual part, so the original CAD file and the actual 3d scanned file of the part were imported into CX.
The customer has a specific alignment technique for superimposing both CAD and the actual part. Based on that, we created a reference feature in the CAD and extracted the same from a 3D scan for alignment.
Now CAD and the actual part are aligned to the same coordinate and ready to take a measurement.
We made a 3D comparison analysis showing how much wheel area is worn out against the original cad design. This result is produced by comparing the worn-out actual surface against the CAD surface.
We could also extract many 3d dimensions, such as the diameter of the wheel and the distance between two wheels. These 3d deviation analyses and measurement extraction could solve the purpose of customers who wanted to check the wear and diameter of the wheelbase.
The final dimensional report is extracted in PDF and sent to the customer who manufactured the wheelbase in France and supplied and installed India.
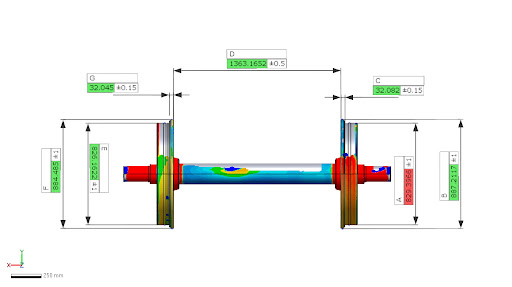
Colour comparison
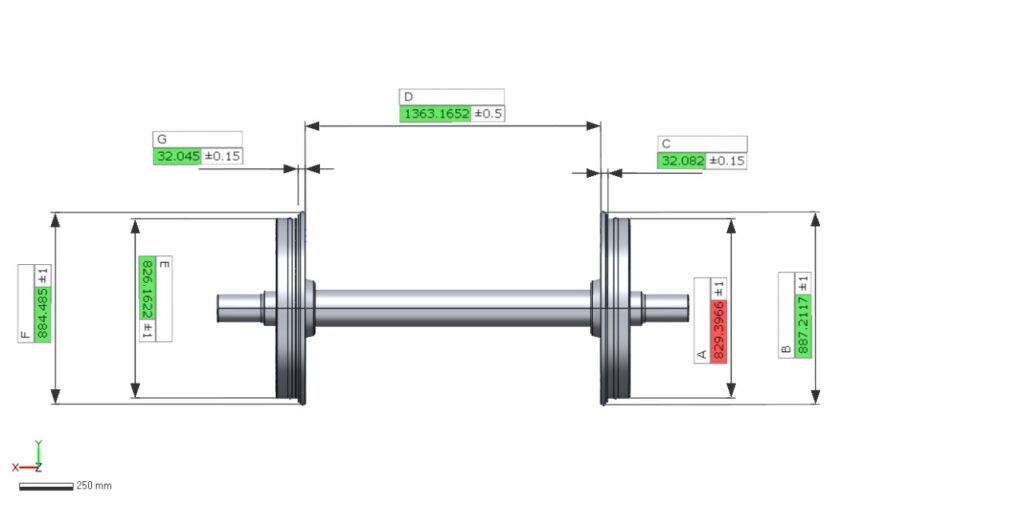
3D Dimensioning
HARDWARE USED
FreeScan X7 is a metrological-grade 3D Laser scanner system with only 0.67 kg following 14 line lasers plus 1 blue laser class II eyesafe certified & German VDI/VDE 2634 calibration. High-speed scanning to 480,000 points/second.
SOFTWARE USED
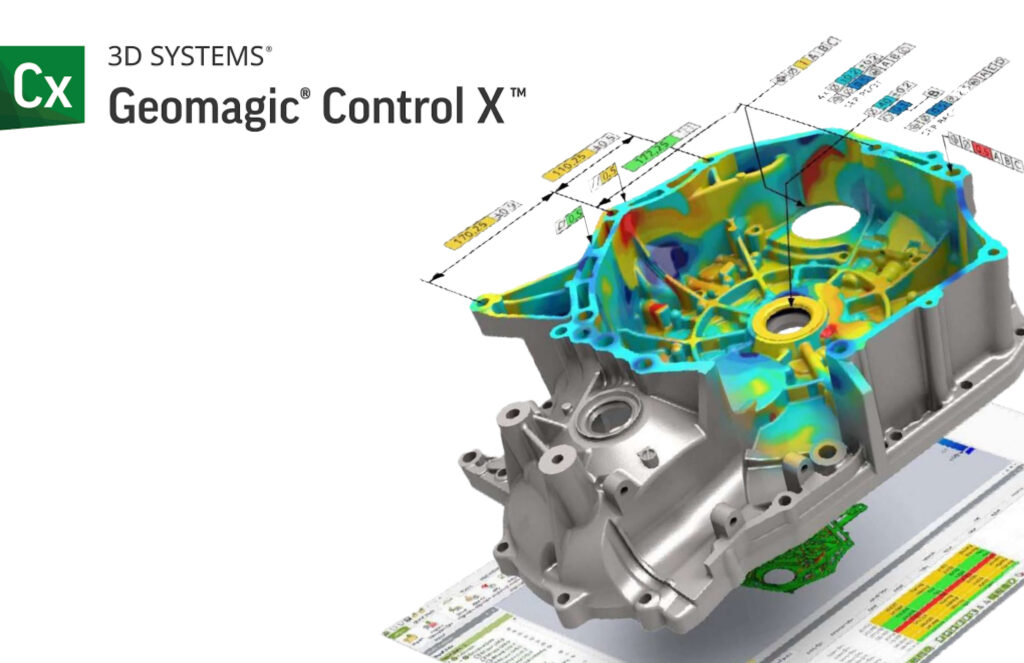
Geomagic Control X works with any 3D scanner and portable CMM for all inspection needs. Control X includes all we need in a professional 3D inspection platform. It converts difficult to understand information so it’s easy to comprehend.
Results:
Digital inspection methods proven to be the best for quality control as it reduces manual work and saves time. With the help of Geomagic Control X we can inspect additional parts with a few clicks–or no clicks at all

